Pergola Repair Guide: Fixing Rot, Loose Posts, and Sagging Beams
Last updated: September 14, 2026
Key Takeaways
- Probe at least 6 inches past visible discoloration.
- Push and pull on the post and beam from several directions, then recheck the fasteners after 24 hours if you used adhesive or epoxy.
- A sagging pergola is often a beam-size, span, or connection problem, not just a bent board.
- A free-standing garden pergola can often be repaired piece by piece.
A wobbling pergola is not a paint problem. If the base feels soft, or the middle bows, the fix usually lives in the structure itself. This pergola repair guide: fixing rot, loose posts, and sagging beams focuses on structural repair: stop the rot, stiffen the frame, and replace any member that has lost strength. It is written for a homeowner or property manager dealing with a wood pergola, usually with 4×4 or 6×6 posts, nailed or bolted beam connections, and visible wear after weather exposure.
What I would check first, and what this guide assumes

This pergola repair guide: fixing rot, loose posts, and sagging beams assumes you can work safely from the ground, a ladder, or a small scaffold, and that you know how to use a drill/driver, a level, a socket wrench, and a saw. It also assumes the pergola is not part of a roofed structure, balcony, or attached deck with hidden load paths. Need a reality check? If the pergola supports glass, a fixed roof, a hot tub cover, or anything that changes the load above a simple shade frame, consult a structural professional before proceeding; see the American Wood Council’s span and connection guidance at https://awc.org/resource-hub/ and local building-code requirements for exterior structures.
Start low.
Not the beam.
I would check the post base first and work upward, because rot at the bottom often causes the looseness and sagging you see higher up. A pergola can look damaged at the beam and still be failing because the post is moving in its anchor. The reverse happens too: a beam can sag from age, span, or undersized lumber even when the posts are solid.
What you need on hand is basic but specific: a 4-foot level, a 2-foot level, a tape measure, a straightedge longer than the sagging member, exterior-rated structural screws or through-bolts, galvanized or stainless hardware, and replacement lumber that matches the existing size. For wood replacement, use pressure-treated lumber rated for ground contact if the post end is near concrete or soil, and consult a qualified builder or engineer if the base condition is unclear. For hardware, avoid plain steel; corrosion near exterior wood shortens the life of the repair. A can of wood consolidant, epoxy filler, and exterior sealant may help, but they are not substitutes for structural wood that has gone soft.
Here’s the blunt test: if the damage is shallow, localized, and the remaining wood is firm, repair may be enough. If a screwdriver sinks into the post end, the lower 12 inches are punky, or the beam has a visible split at a bearing point, replacement is the honest answer.
How do I fix a rotten pergola post or beam?
Expose it, cut back to sound fibers, rebuild the load path, then seal everything so water stops coming back. The order matters. Patch first, and you may just buy yourself the next wet season.
- Unload the area. Remove hanging plants, shade cloth, lights, and any decorative crosspieces attached near the repair zone; if needed, add a temporary 2×4 brace at 45 degrees to nearby framing. Verify the frame stops shifting when you push it by hand. If it still racks, the joint is more than a cosmetic problem.
- Probe the wood. Use an awl or screwdriver to test the post base, beam ends, and notches. Probe at least 6 inches past visible discoloration. Verify firm resistance in sound wood. If the tool sinks easily or the fibers crumble, you have decay, not just staining.
- Expose the full damage. Cut away trim, end caps, paint, and caulk around the affected joint with a utility knife and scraper. Open the joint enough to see both sides of the connection. Verify you can see the fasteners and the bearing surface. If you cannot inspect the joint, you cannot judge the repair.
- Remove rotten material back to clean wood. Saw or chisel out every section that is soft, dark, or delaminated. For a post end, square the cut if possible; for a beam end, cut back to a full bearing face. Verify the remaining wood is hard and dry enough to accept a fastener. If the rot extends more than about one-third of the member depth, replacement is usually the better choice.
- Rebuild the connection with structural hardware. Use through-bolts, structural screws, or a rated post base/beam connector sized to the lumber. For a 4×4 post, one connection method is rarely enough if the joint is loose; use hardware that clamps the joint, not just trim screws. Verify the joint closes tight under pressure and the member no longer twists. If the fastener spins, the hole is stripped or the wood is too damaged.
- Restore the bearing and plumb. Shim only with solid, exterior-rated shims where a post base or beam seat needs support; do not use stacked wood scraps. Check plumb with a level and check beam slope with a straightedge. Verify the load sits flat and the post stands within a small visual tolerance. If you need thick shimming to make it work, the structure is out of alignment and should be reset.
- Seal the repair properly. Apply wood preservative or consolidant only to the remaining sound edges, then prime and paint or stain all cut surfaces, fastener heads, and end grain. End grain drinks water fast, so this matters. Verify all fresh cuts are coated. If you leave exposed end grain, water will re-enter first at the repair.
- Test the structure under hand pressure. Push and pull on the post and beam from several directions, then recheck the fasteners after 24 hours if you used adhesive or epoxy. Verify there is no fresh movement, creaking, or opening at the joint. If the member still flexes visibly, the span or section size is insufficient and repair alone will not solve it.
A rotten post base often fails where the end grain meets trapped moisture, especially if the post sits in a metal saddle that never dries or is embedded in concrete without drainage. A rotten beam end often fails at a bolt hole or notch because water sits in the cut. No mystery there. A good repair changes the water path as much as the wood path.
Why is my pergola sagging, and is it actually a beam problem?
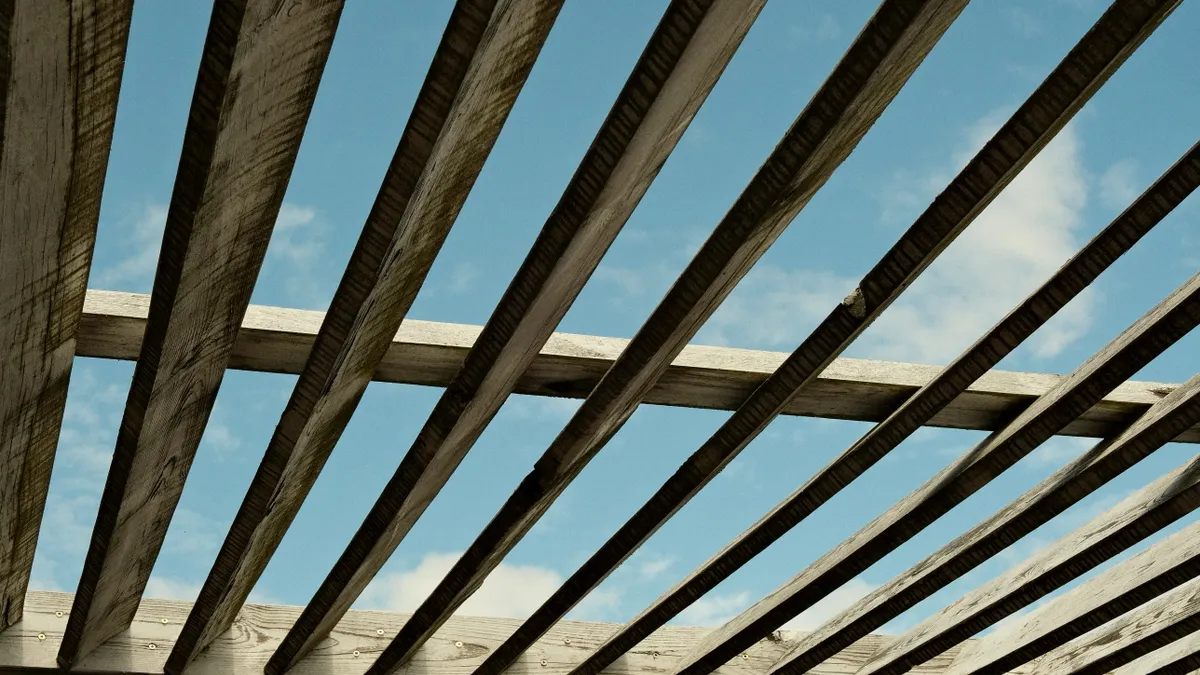
A sagging pergola is often a beam-size, span, or connection problem, not just a bent board. The beam may be undersized for the distance it spans, the post may be out of plumb, or the joinery may have loosened enough that the beam is no longer bearing correctly.
Measure first.
Stretch a string line or use a straightedge across the beam span and measure the dip at midspan. A small visible crown or dip can be harmless in old lumber, but a beam that has dropped enough to trap water, throw roof slats out of alignment, or open a gap at the post is telling you something has changed. In practical terms, if the beam has a noticeable belly across a span of 8 to 12 feet, consult a qualified contractor or engineer and treat it as structural until proved otherwise.
Usually, the repair is to restore support, not to bully the beam flat with screws. If the beam is only loose at a post or ledger connection, re-bolt or re-seat it. If the beam itself has bent, sistering may help: that means fastening a new member of the same depth alongside the old one so they share load. It works best when the old beam is still mostly sound and the span is not excessive. It is the wrong fix if the old beam is badly checked, split through a bolt line, or rotted at the bearing end.
For small spans, I like the logic of a repair that increases section depth or adds a support post rather than overdriving fasteners. A deeper member resists bending better than a pile of screws ever will. If the pergola is decorative and the owner can accept a slight slope, I would leave a little sag alone rather than chase perfection and weaken the structure with unnecessary surgery. But if the sag has worsened, or if the pergola supports shade fabric, lighting, or vines that catch wind, the load is real and the repair needs to be real too.
When should I stop and rebuild instead of patching?
Stop when the damage has moved from local decay into structural loss. That is the line where patching only hides motion for a season.
The post end is soft for more than 6 to 8 inches above the base: the rot has likely traveled into the load-bearing section — replace the post or cut it back and reframe the support.
A beam is split through the bolt line or notch: the connection can no longer clamp evenly — remove and replace that beam or add a properly sized sister if the remaining member is still sound.
The pergola racks easily when pushed diagonally: the frame has lost lateral stiffness — add proper diagonal bracing or reset the posts and hardware, not just new screws.
Post bases are embedded in concrete with no visible drainage: trapped moisture will keep restarting rot — replace the base detail with a standoff or a metal post base that keeps wood out of standing water.
More than one post is loose or decayed: the failure is likely systemic, not isolated — plan a larger rebuild so the structure is square, plumb, and properly anchored.
The lumber is insect-damaged as well as rotten: the wood has lost predictable strength — replacement is safer than trying to consolidate hollow material.
If the structure is attached to a house, deck, or roof edge, I would be more conservative. A free-standing garden pergola can often be repaired piece by piece. An attached one can transfer movement into the building, which changes the stakes.
The mistakes that turn a small repair into a bigger one
The biggest mistake is hiding decay under filler. Two-part epoxy filler can make a face look solid, but it does not restore missing section where the wood carries load. Then the confidence is fake, and the failure comes back later. The correct alternative is to remove all soft material first, then use filler only for shallow surface checks after the structural fix is done.
Another mistake is using ordinary deck screws for a structural joint. Deck screws are not the same as structural fasteners, and they do not clamp or resist shear the way through-bolts or rated structural screws do. The result is a joint that feels tight for a few weeks and then loosens again. The proper choice is galvanized or stainless structural hardware sized for the joint.
People also try to force a sagging beam back into line with a jack and no reinforcement. That can crack the beam or split the post when the temporary force is removed. The better alternative is to support the member, correct the load path, and then secure it with an added support or sister if the span allows.
Another error is leaving end grain exposed after cutting. The fresh cut drinks moisture fast, and that is where rot restarts first. The result is repeat decay at exactly the same spot. The correct alternative is to seal every new cut, especially on posts and beam ends, with primer, preservative, or paint before final assembly.
Finally, some repairs ignore the water source. If gutters dump onto the pergola, if vines hold moisture against the wood, or if the post base sits in mulch, the repair will age quickly. The outcome is a good-looking fix that fails in a wet season. The better move is to change the drainage, clear contact with soil, and keep splashback away from the wood.
What changes in tight corners, old wood, and nonstandard builds?
Standard advice needs adjusting when the pergola is old, oddly framed, or built with material that is no longer common. A 20-year-old cedar pergola with hand-cut joints behaves differently from a modern pressure-treated one with metal connectors.
If the wood is cedar or redwood, it may look sound while having internal checking, which are surface cracks along the grain. Checks are not automatically rot. I would only replace the member if probing finds softness, separation at a joint, or loss of bearing. If the wood is pressure-treated lumber, expect end checking and some surface cupping; those alone do not justify replacement. What matters is whether the section still carries load.
For pergolas with decorative curved beams or custom rafter tails, sistering can be harder because a straight reinforcement may show. In those cases, I would match the existing profile or strengthen from above or inside the joint where possible. If aesthetics matter more than speed, custom repair is slower and usually costs more in labor, but it avoids a visible patch that looks like an afterthought.
If posts are set on pavers, piers, or old hardware of unknown rating, do not assume the base is adequate just because the wood above looks decent. The base detail is often the weak link. A repair may need a new post anchor or a concrete pier extension. If the pergola is near coastal air, corrosion matters too: use stainless or hot-dip galvanized hardware, because light-duty zinc hardware can corrode faster in salty conditions.
How do I know the repair is good enough?
A good repair is quiet, square, and dry. It does not wobble when pushed, it does not trap water at a cut end, and it does not rely on cosmetic filler to pretend the wood is sound.
I look for three things after a repair: the post stays plumb, the beam line is straight or intentionally and evenly sloped, and the connectors seat tightly without gaps. If the repair includes a sistered beam, the two members should be clamped together over as much length as practical, not just held at the ends. If it includes a new post base, the wood should be lifted clear of moisture and the anchor should not rock on the concrete.
A repair can be structurally adequate even if it is not invisible. That is the honest trade-off. A visible splice or added bracket is better than hiding a weak joint under fresh paint. Ugly but solid beats pretty and shaky.