

How to Measure for a Pergola Opening Before You Buy or Build
Last updated: October 21, 2026
Key Takeaways
- Pergola opening measurements are the clear space a pergola must fit into, plus room for posts and roof clearance.
- Measure width from the true edges the pergola must clear, not the easiest-to-reach spot.
- Depth often shrinks once roof overhang and rear clearance are included.
- Post spacing and opening size are different, and confusing them can lead to the wrong order.
Get the opening dimensions first: width, depth, post clearance, and roof overhang allowance. If those four numbers are wrong, the pergola will be the wrong footprint even if the style is right. This guide to How to Measure for a Pergola Opening Before You Buy or Build is for the person who needs to buy or build to a real space, not to a rough guess.
What pergola opening measurements need to capture
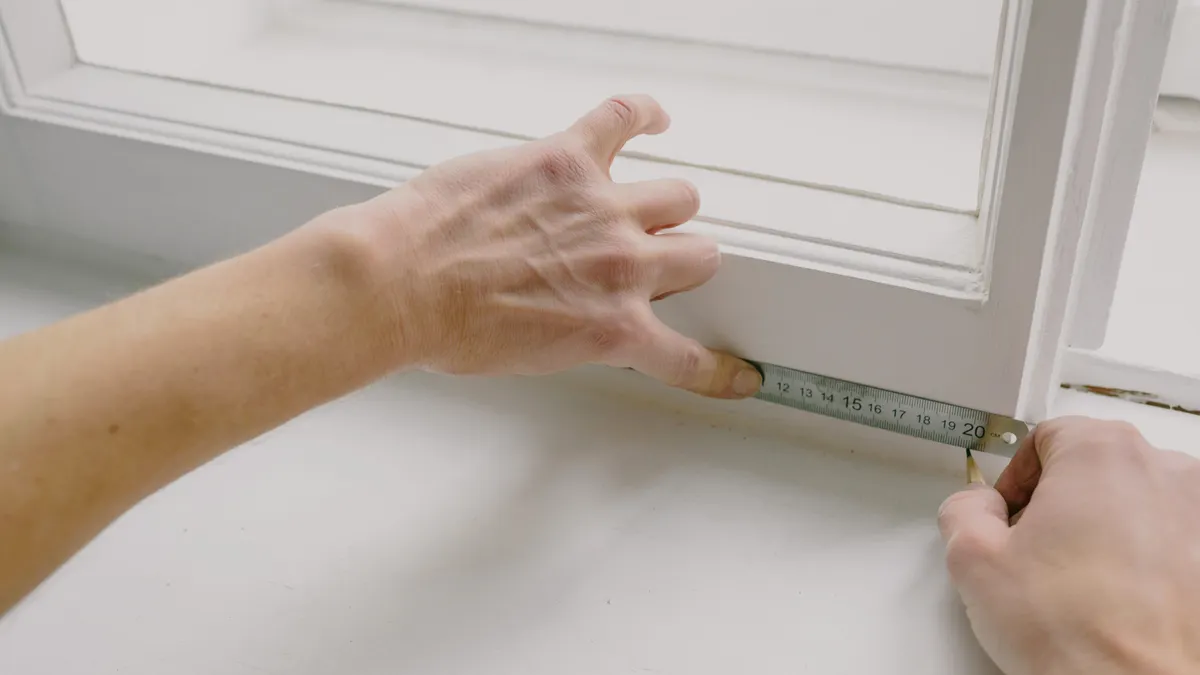
Pergola opening measurements are the clear space the structure must fit into, plus the room the posts and roof need to stand without rubbing walls, trim, or each other. A tape measure alone is not enough if the space has square corners that are not actually square, a ledger board, or a roof overhang that eats into the opening.
Start by deciding what opening you are measuring. For a freestanding pergola, the opening is the rectangle between the faces of the posts or the inside edges of the planned footprint. For a wall-attached pergola, the opening starts at the wall or ledger line and extends to the outer edge of the posts or beams, depending on the design. That choice changes the number you write down.
The goal is not “largest possible.” The goal is “the largest opening that still leaves the clearances the design needs.” A pergola that fits a 10-foot opening on paper can still fail in the real space if a roof eave projects 8 inches, if a post lands in a paver joint you cannot move, or if the patio is 1/2 inch out of square and the last post will not line up.
Use a tape measure, a pencil, and a notepad. A 25-foot tape is usually enough for small residential openings; a second person helps on spans above 12 feet because the hook end can slip and change the reading. If you are comparing the space to a kit or plan, keep the unit the same throughout: inches to inches, or feet and inches to feet and inches.
For context and broader planning, the hub page on [Pergola design and planning] should sit alongside this one, not replace it, and the [Pergola materials guide] can help you compare frame options before you measure.
Measure the opening width first, not the posts
Measure the opening width from the exact surfaces the pergola has to clear, not from whatever seems easiest to reach. In a simple patio opening, that means one finished edge to the opposite finished edge. In a framed opening, it may mean inside face to inside face. The width number is the one that controls whether the pergola can enter the space at all.
Follow these steps in order:
- Pick the two boundaries that define the opening, such as wall-to-wall, post-to-post, or finished edge to finished edge. Mark them with painter’s tape if the lines are hard to see. The result should be two visible reference points, not two guessed spots.
- Stretch the tape measure level across the opening at about 36 inches above the ground, then measure again near the bottom and near the top if the surfaces are uneven. The result should be the same within a small amount; if it is not, the space is tapered or bowed.
- Record the smallest width, not the prettiest one. If one side reads 144 inches and the other reads 143 5/8 inches, use 143 5/8 inches as the controlling width. That is the number the pergola must fit through.
- Subtract the clearance the structure needs on both sides for trim, post sleeves, hardware, or future movement. A tight fit leaves no forgiveness for out-of-square conditions, so the final planned width should be slightly under the smallest measured opening unless the design is custom-made for an exact fit.
What worked: the tape reads consistently, and the planned width leaves room for the actual structure, not just the drawing. What failed: any measurement taken from decorative trim, rounded stone, or a shadow line instead of a true edge. If the opening includes a ledger board, measure from the face of that ledger, not from the siding above it.
One common mistake is using only one width reading because the opening “looks straight.” On an old patio or between masonry walls, that error can cost a full post-width of clearance. The better move is to measure three times across the same width and trust the smallest practical number.
How do you measure pergola depth without missing roof overhang?
Measure the pergola depth from the front limit of the opening to the point where the back edge, ledger, or rear posts will land, then add the roof overhang allowance the design calls for. Depth is where people lose space because the eye sees only floor area, while the roof needs room beyond the posts.
Use this order:
- Set the front line of the opening with tape or chalk. That line should match the real place the pergola begins, such as the patio edge or the face of a wall opening.
- Measure straight back to the rear limit at 90 degrees to the front line. If you are measuring a wall-attached pergola, this is often the line where the rear posts or beam will sit, not the end of the roof.
- Add the roof overhang allowance required by the plan. A roof cap, rafter tail, or decorative overhang can add several inches beyond the post line, so the opening depth must account for that extra projection.
- Check the depth at both ends. If one side is shorter because the patio slopes or the wall jogs, use the shorter measurement as the control number.
You are looking for a depth that can hold the structure without the roof projecting into a door swing, a planter bed, or a neighbor’s clearance zone. That is why a “tight” depth is not neutral; it creates a hidden conflict above head height.
If the opening includes a ledger, note where the ledger clearances begin and end. A ledger-mounted design can need room for fasteners, flashing, and the rear beam line. If the wall has brick, stucco, or siding irregularities, measure from the true structural line, not the outer texture. This is one of the places where an opening that looks square can be off by 1/2 inch or more.
Check post spacing before the frame goes in
Check post spacing by measuring the exact distance between the centers or faces the plan requires, then compare that to the opening width and depth you already recorded. Post spacing is not the same as opening size, and mixing the two is how a good measurement turns into a bad order.
The reason this matters is simple: the posts define where the frame can stand, but the opening defines where the whole pergola can live. If the plan uses 8-foot post spacing and the opening is 95 inches, the structure may be impossible without resizing. If the plan uses post sleeves or decorative wraps, the outer dimension can be larger than the structural post by several inches.
For a build from plans, follow the plan’s post spacing exactly unless the manufacturer allows a tolerance. For a custom build, lay the post centers on the ground with chalk or tape and measure corner to corner in both directions. If the layout is rectangular, the two long sides and two short sides should correspond; if they do not, the frame will twist.
A useful check is to compare the post spacing against the planned opening twice: once along the front edge and once along the rear edge. If those measurements differ, the opening is not parallel. That does not always stop the project, but it does tell you that the structure may need shimmed posts, adjusted beam lengths, or a redesign before any anchors go in.
The mistake to avoid is assuming post spacing can be “fudged” later. Once footings, anchors, or pavers are fixed, moving a post line can mean drilling new holes or changing the whole footprint. It is easier to correct a pencil line than a set footing.
How to check for out-of-square corners
Check for out-of-square corners by measuring both diagonals of the opening and comparing them; if the diagonals match, the rectangle is square, and if they do not, the opening is skewed. This diagonal check is usually the quickest way to catch the layout problem that width-and-depth alone can hide.
Here is the method:
- Measure from one corner to the opposite corner and write the number down.
- Measure the other diagonal between the remaining two corners.
- Compare the numbers. If they match exactly, or close enough for the build tolerance, the corners are square.
- If they differ, use the shorter diagonal as the warning sign. The opening is not true square, and the frame will need adjustment before final placement.
This matters because a pergola can be the right width and depth and still rack into a parallelogram if the corners are off. On a small structure, a diagonal difference of even a little over 1/2 inch can show up as a beam that overhangs too far on one side or a post that no longer lands where the footing was planned.
A square check also tells you which side is the troublemaker. If the diagonals differ, recheck each side and each corner rather than trying to force the frame into place. The trouble may be a bowed wall, a patio that was poured out of square, or a line of pavers that drifted over time.
This step is where a lot of generic advice falls short. A simple “measure twice” rule is not enough. A pergola opening can be twice measured and still be wrong if the corners are not square. The diagonal check can be one of the most useful ways to catch a shape that fits on paper but not in the real opening.
What clearance to leave around the opening
Leave enough clearance for the posts, hardware, roof overhang, and any wall features that sit inside the opening, then confirm that the final footprint still clears doors, eaves, and trim. Clearance is the buffer that keeps the project from binding against the space.
The exact clearance depends on the design, but the principle does not change: do not use the full measured opening as the finished pergola size. If the opening is 120 inches wide, the usable structural width is usually smaller once you account for post thickness, bracket hardware, and any decorative covers. The same rule applies to depth if the roof projects beyond the posts.
Wall-attached projects need special care around ledger clearance. The ledger must sit on a sound line, and the roof members need room below any soffit, fascia, or roof overhang. If that space is crowded, the pergola may be forced lower or farther out than planned. In a tight site, a 2-inch mistake near the wall can turn into a much larger problem once the beam and rafters are added.
It is also worth checking vertical clearance if the opening passes under an existing roof or balcony. A pergola may fit in plan view and still clash with a low overhang, a gutter, or a downspout. That is not a sizing issue in the abstract; it is a measurement issue tied to the actual opening.
What this page is not for: choosing the best pergola size for shade, privacy, or a backyard layout. That belongs on a separate planning page. This page is for the numbers that keep you from ordering or building the wrong footprint in the first place.
Record the numbers in a way you can use
Record the opening width, depth, diagonal measurements, and clearance notes on one sketch before you shop or cut lumber. A clean sketch with four or five numbers beats a phone photo with no labels.
Use this simple format:
- Width: smallest measured opening
- Depth: smallest measured opening
- Diagonal A: corner to opposite corner
- Diagonal B: the other corner to opposite corner
- Clearance notes: ledger, roof overhang, post spacing, trim, slope
Keep the units consistent. If the supplier works in inches, write everything in inches. If the plan uses feet and inches, do not convert one dimension and leave the rest in mixed units. Mixed notation is how a 10-foot opening becomes a 9-foot order by mistake.
A good final check is to ask one question: can the planned pergola fit through the opening, stand on the chosen post spacing, and still clear the roof overhang? If any part of that answer is uncertain, the measurement is not finished yet. Re-measure before money changes hands.
This is also the point where a generic calculator can fail you. Calculators are fine for clean rectangles, but they cannot see a bowed wall, a crooked patio edge, or a ledger clearance conflict. If the space is irregular, trust the tape measure and the diagonal check first.
Pergola opening measurements: the short version
Pergola opening measurements are the controlling width, depth, post spacing, diagonal square check, and clearance allowances that determine whether the structure actually fits. If the opening is irregular, the smallest width and depth govern, not the biggest or prettiest numbers.
Use a tape measure on the true boundaries, not decorative edges. Measure width, then depth, then both diagonals. Note roof overhang and ledger clearance before you commit to a kit or cut list. If the space is out of square, fix the layout on paper before the build starts.
How wide should a pergola opening be?
The opening should be wide enough for the pergola’s structural width plus the clearance its posts, hardware, and any sleeve or trim details need. The right answer is the smallest measured width, minus the room the design requires. If the opening is even slightly out of square, use the tightest measurement as the controlling number.
How much clearance do pergola posts need?
Pergola posts need enough clearance to avoid contact with walls, trim, paving edges, and any roof overhang that projects into the space. There is no single number that fits every design, so the safe approach is to measure the post spacing from the plan and confirm that the finished footprint still leaves room on all sides. If the fit is tight, the opening is not ready.
How do you measure an uneven patio for a pergola?
Measure the patio width and depth at more than one point, then compare both diagonals to check for square corners. An uneven patio is measured by its smallest usable dimensions, not by its widest or longest spot. If the two diagonals differ, the patio is out of square.
Drafted with AI; not yet reviewed by a person.


